Note: I received prior consent to share this information with the public
General Overview
A summary of my work as part of a team building a gesture recognition smart ring. The ring has the capability to recognize complex gestures, numbers and shapes, which trigger events on your connected device. Think of drawing a "B" with your pointer finger to shuffle your Beyonce playlist. The aim is to reduce the time it takes to control technology and make everyday things more convenient.
- Project Duration: ~2 years
- Role: Software Engineer/IoT Engineer
- Responsibilities: Prototyping, design, development, and testing
Features
- High Accuracy Gesture Recognition (>95%)
- Control just about anything with a Wifi or Bluetooth connection, lights, music playback, TV control, a dishwasher etc
- 14 Day battery life
- Wireless charging
- OTA updates
Experimental Features
These features were explored by myself and the team, however, they were not put into production due to limitations in price per unit or size/form factor.
- As a substitute for 2 factor authentication, eliminating the need to enter a 6-digit code each time needing to authenticate by simply pressing a button on the ring.
- Tap to pay, integrating an NFC contactless module into the ring for use as an alternate form of payment
- A suite of health applications, from steps to heart rate, would have put us in competition with Oura and other similar brand offerings
- Vibrations from notifications etc, simply not physically possible, the smallest vibrational actuator either was too large or consumed far too much power for our requirements
User Interaction and User Experience
From my past experiences, I have come to know the importance of ensuring UX and UI are properly addressed in the development process. Since the team was rather small, we had the opportunity to frequently interface with potential customers. This shortened our feedback loop and allowed us to iterate quickly.
Technical Challenges and Solutions
The design and creation of this product was one of the most complex projects that I have worked on, mainly due to the nature of size limitations and power constraints of the device. As a team, we conducted thorough research on low energy consumption solutions and implemented methods to conserve when possible. Since we had to work with limited resources, we looked to other similar implementations of our application, such as other smart rings or hearing aids. I took the lead with finding a battery solution for the product, using resources such as ifixit.com to cross reference batteries used in similar applications. Additionally, the fact that the device was curved compounded engineering difficulty as most batteries that you see are standard shapes like rectangles, cylinders etc and custom battery solutions were prohibitively expensive.
In order to generate the initial constraints on the design itself, we had to take into account varying sizes of fingers on the end user. We navigated this issue by requiring the length of the produced PCB to be no longer than the circumference of our smallest ring offering. This is actually easily calculable, as we intended on offering ring size 5-6 as our smallest available size, so the inner circumference had to be 51.6 mm at most.
Versions worked on:
V1, Arduino Nano:
The first prototype we developed, using an Arduino Nano, which leveraged its built in accelerometers/gyroscopes and serial communication to feed data back, without the use of machine learning or AI.
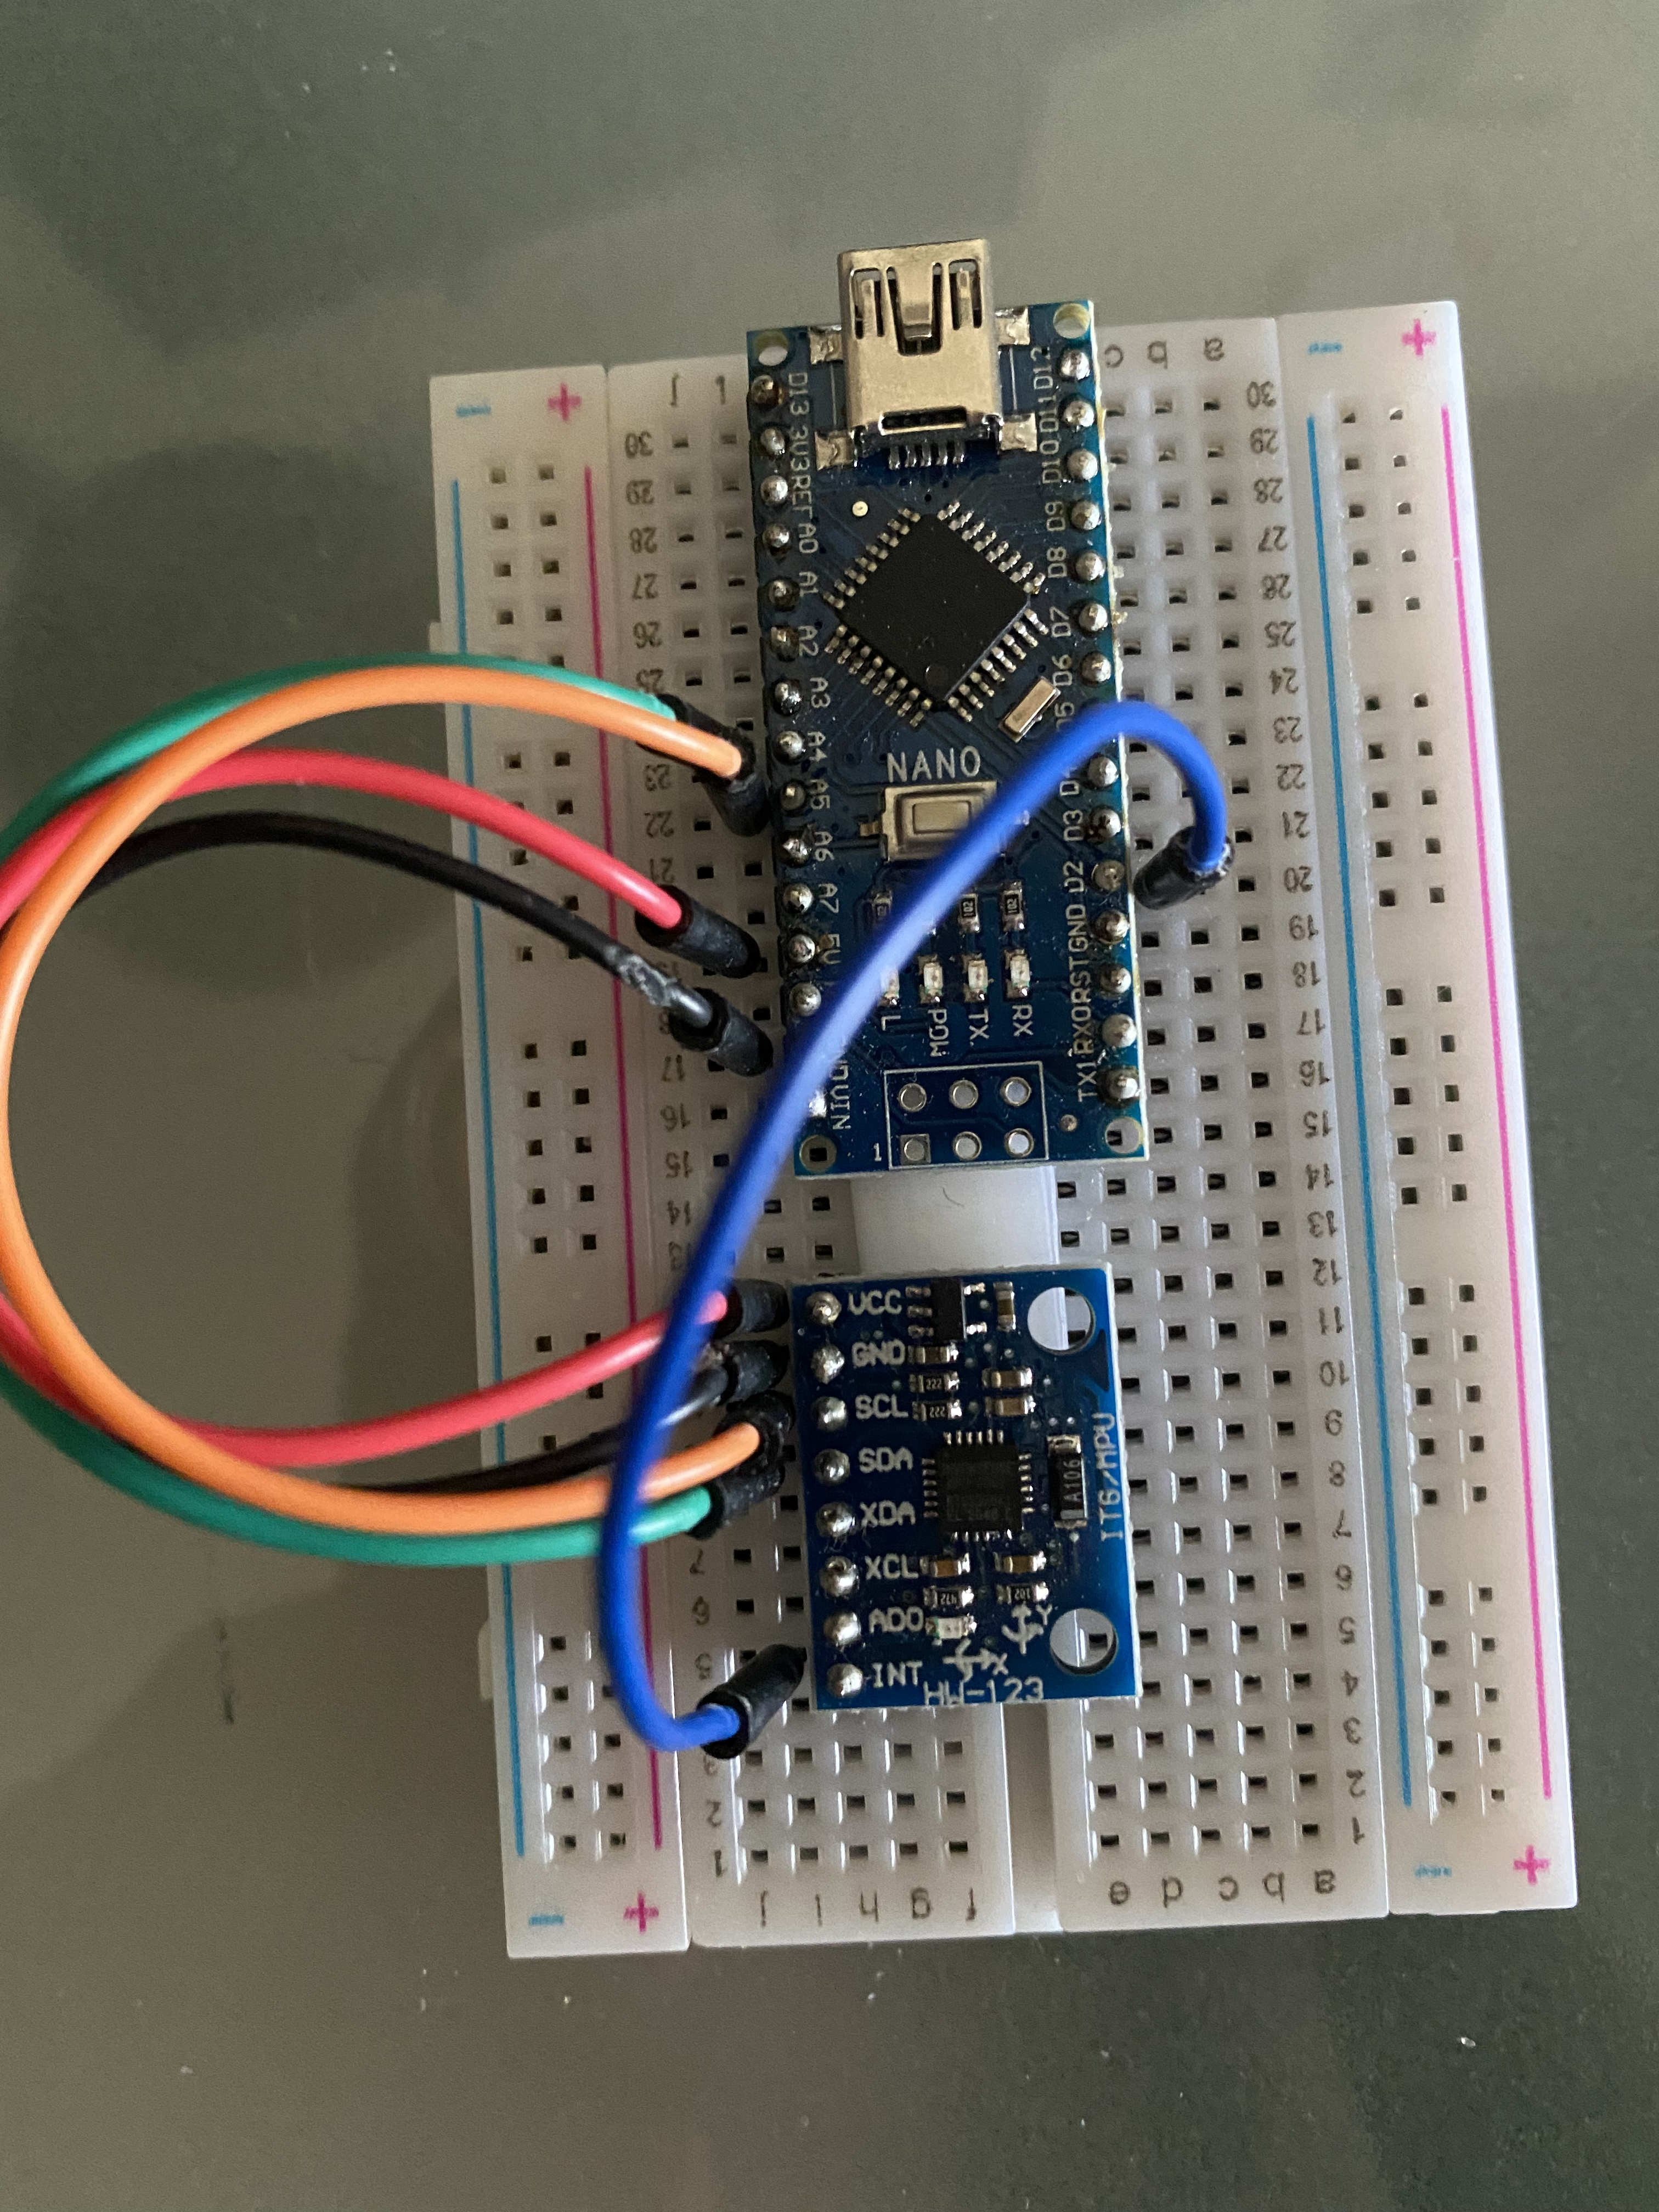
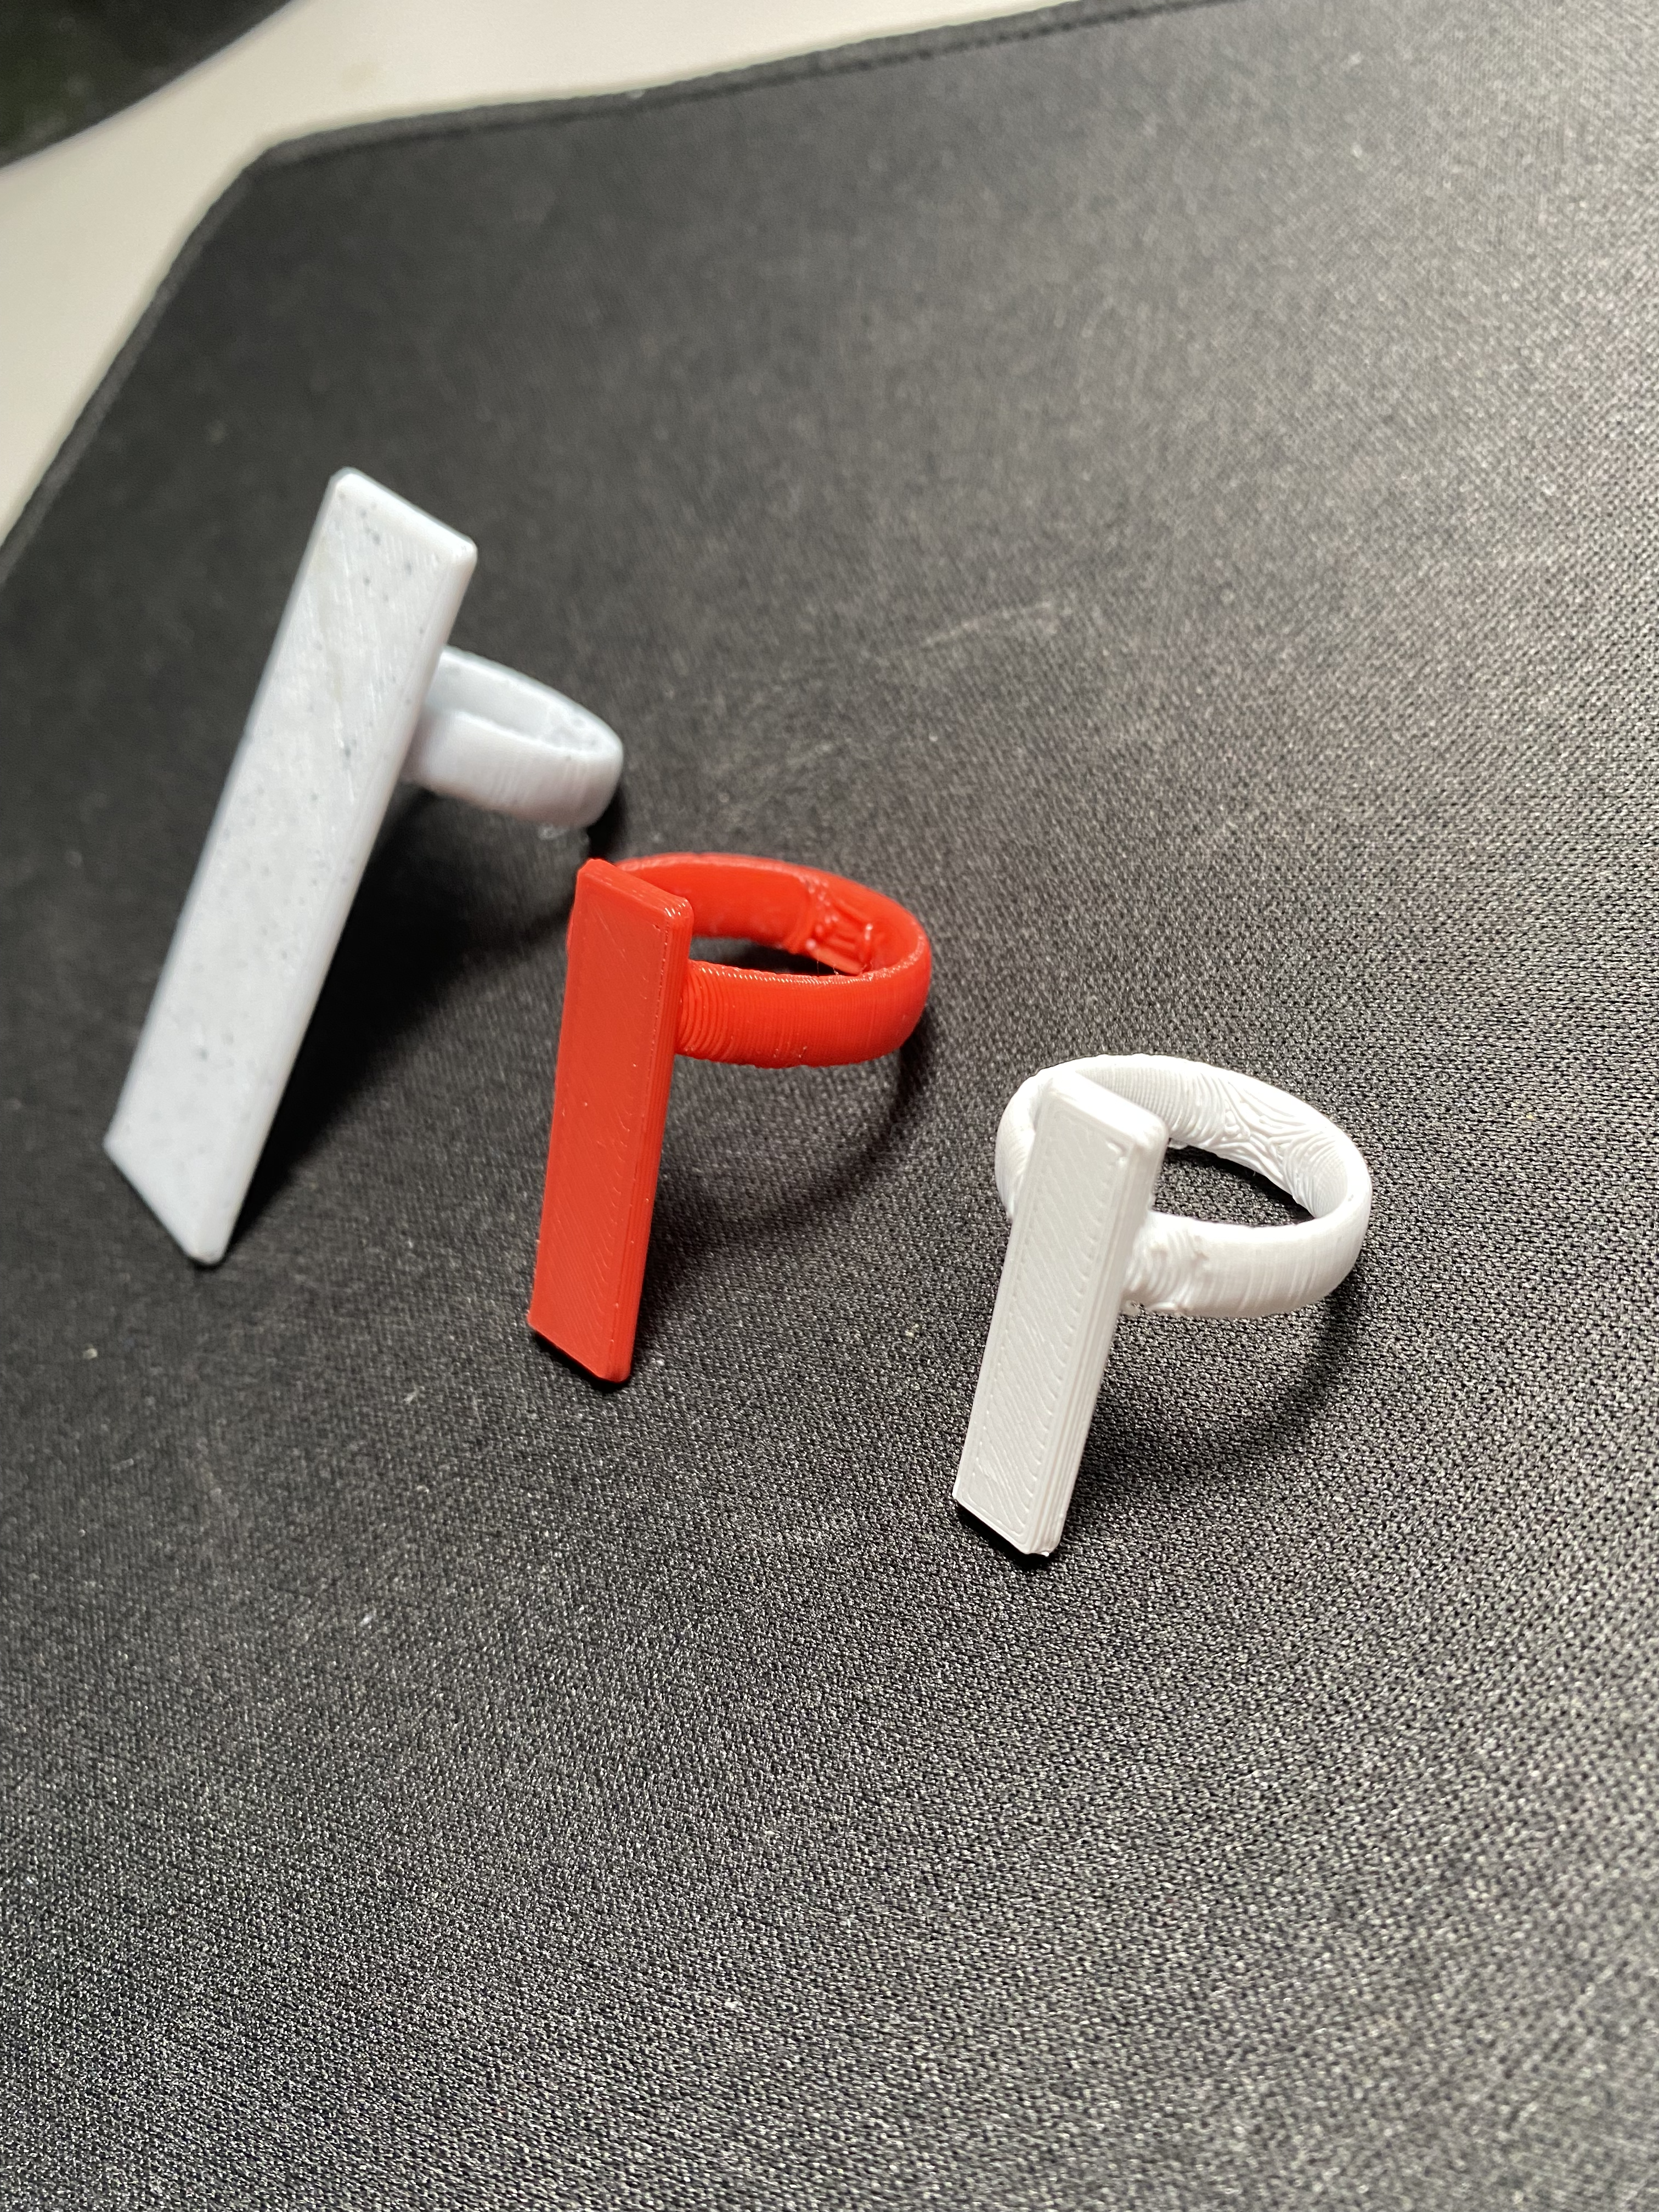
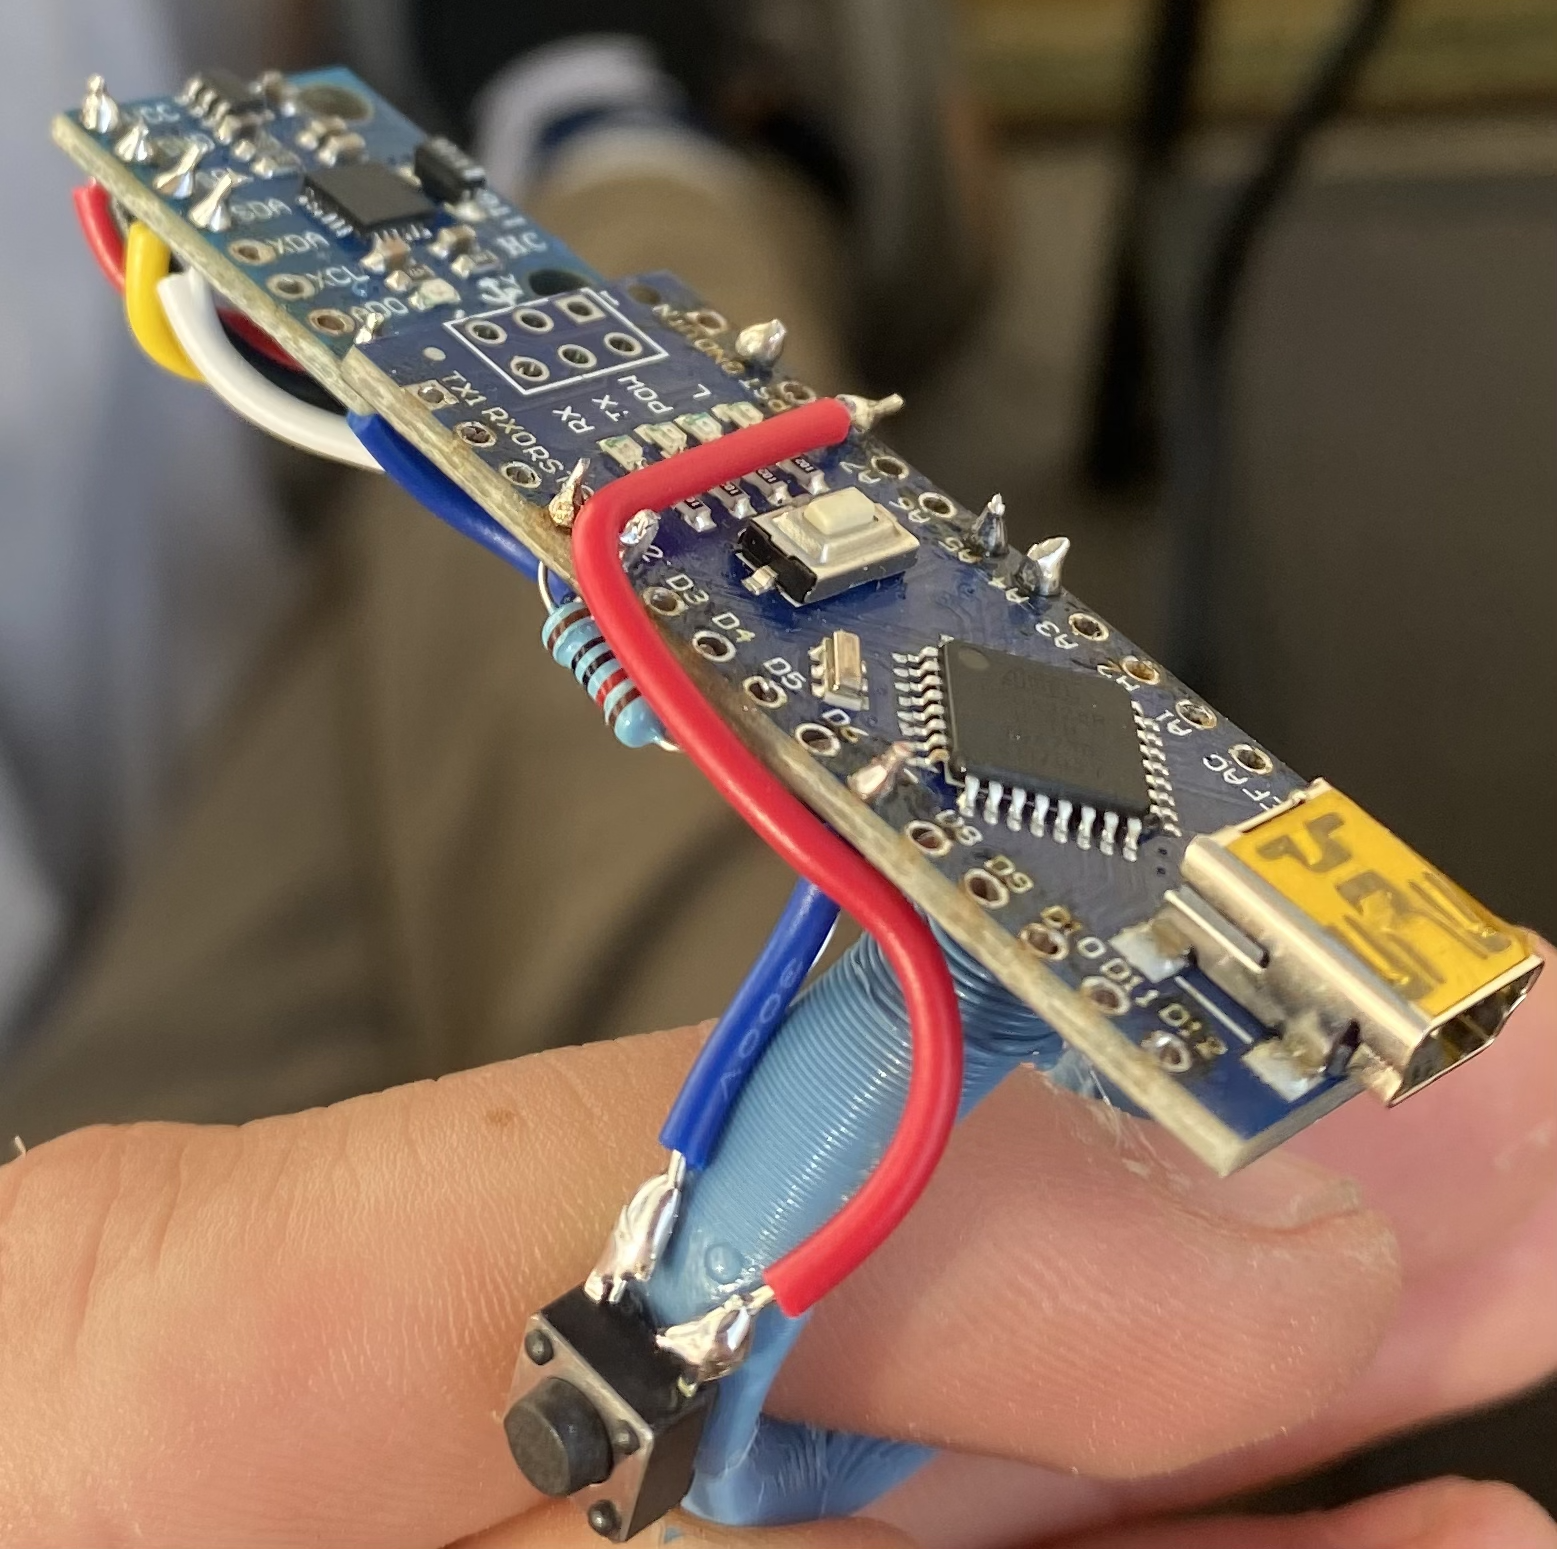
V2, Arduino Nano 33 IoT, BLE:
An Arduino Nano 33 IoT, setup for using its built in BLE module, a NINA W102 uBlox module. This allowed for wireless communication albeit was limited due to lack of a custom battery solution. ML running on computer/host device.
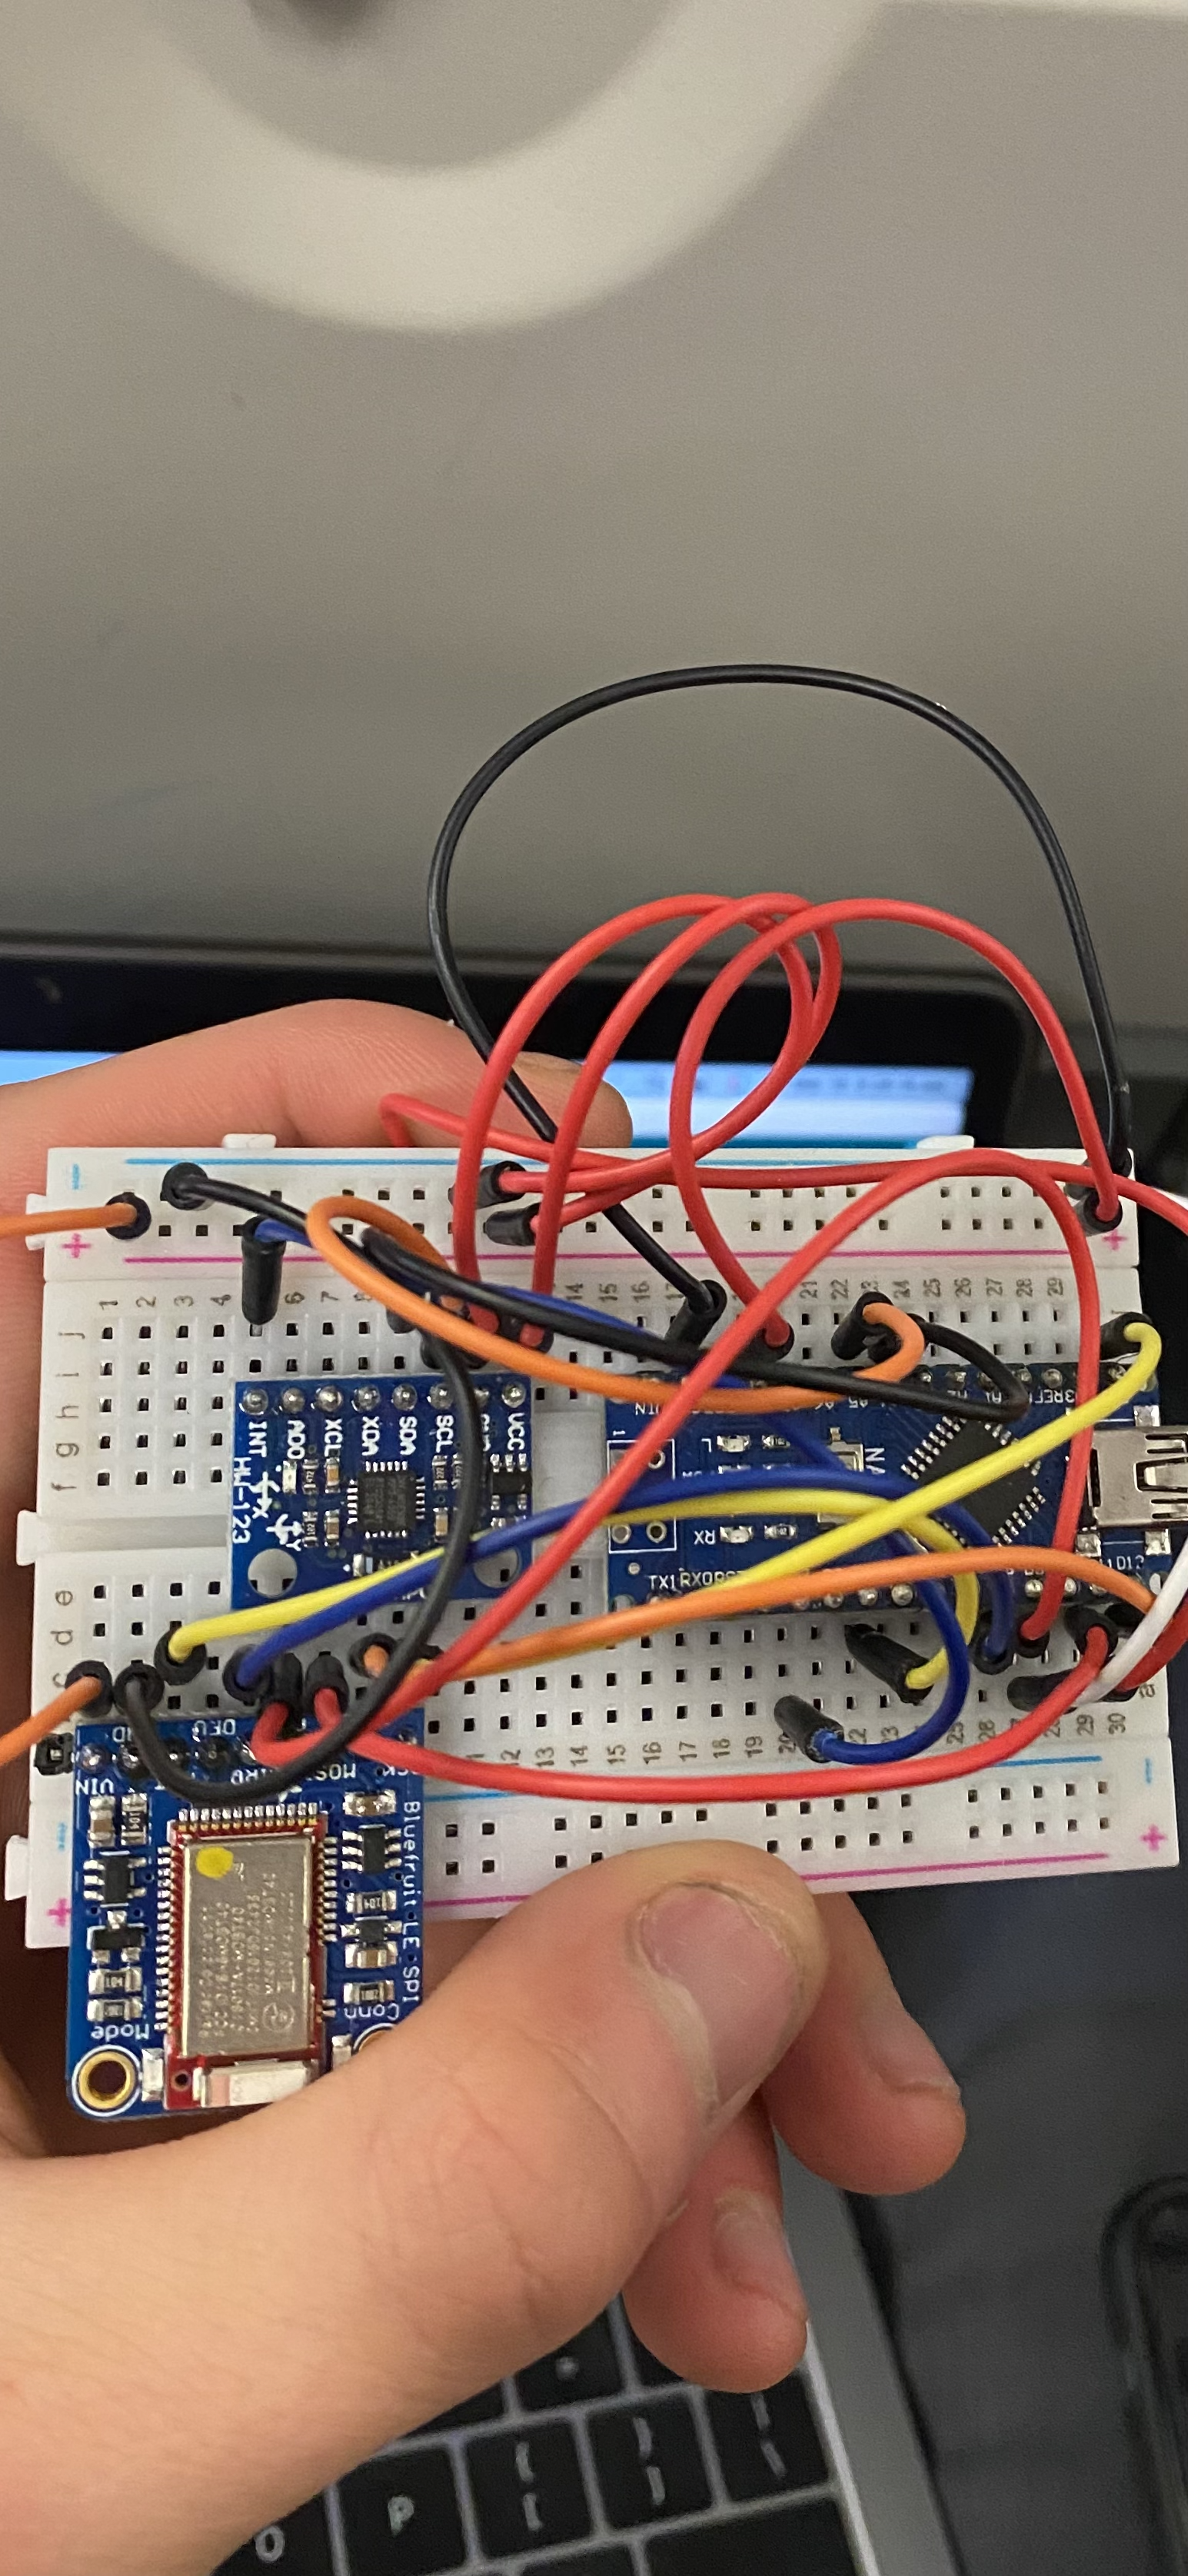
V3, Segger NRF52 Chip:
Designed and accounted for limitations in battery specs, as curved lithium Ion batteries have numerous limitations.
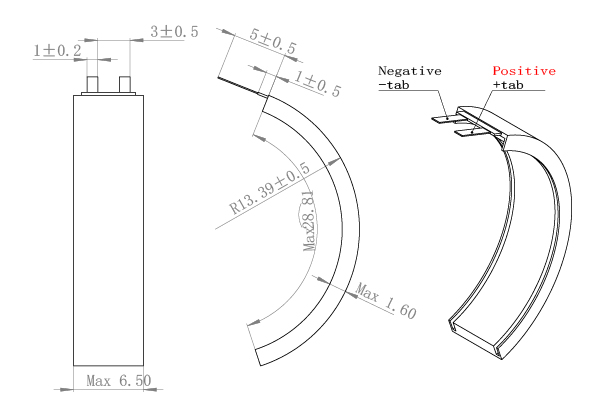
A public spec sheet for the batteries that I found to fit our requirements.
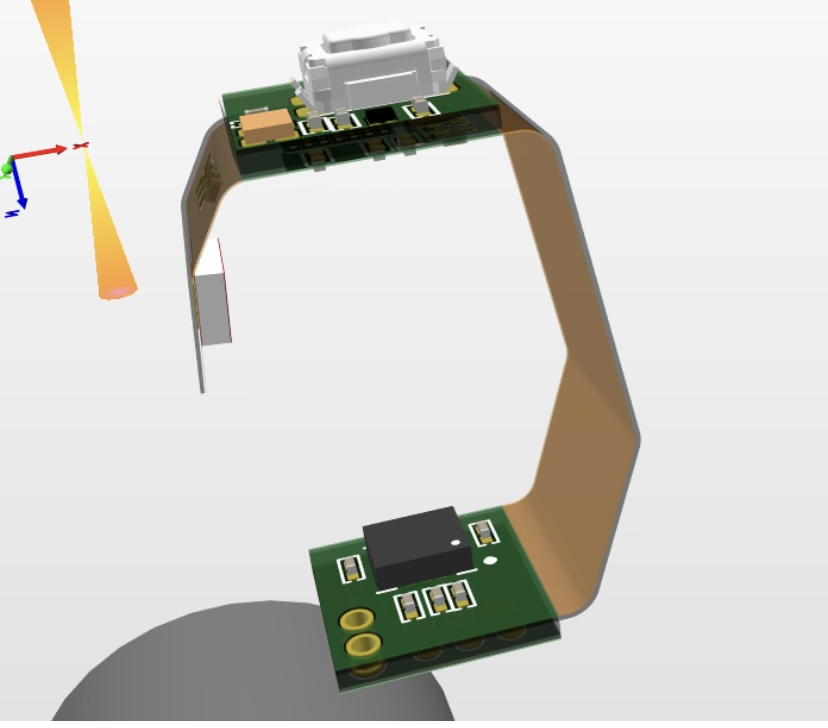
Depicted above: a 3d mockup with button, ribbon cable and sensing module.
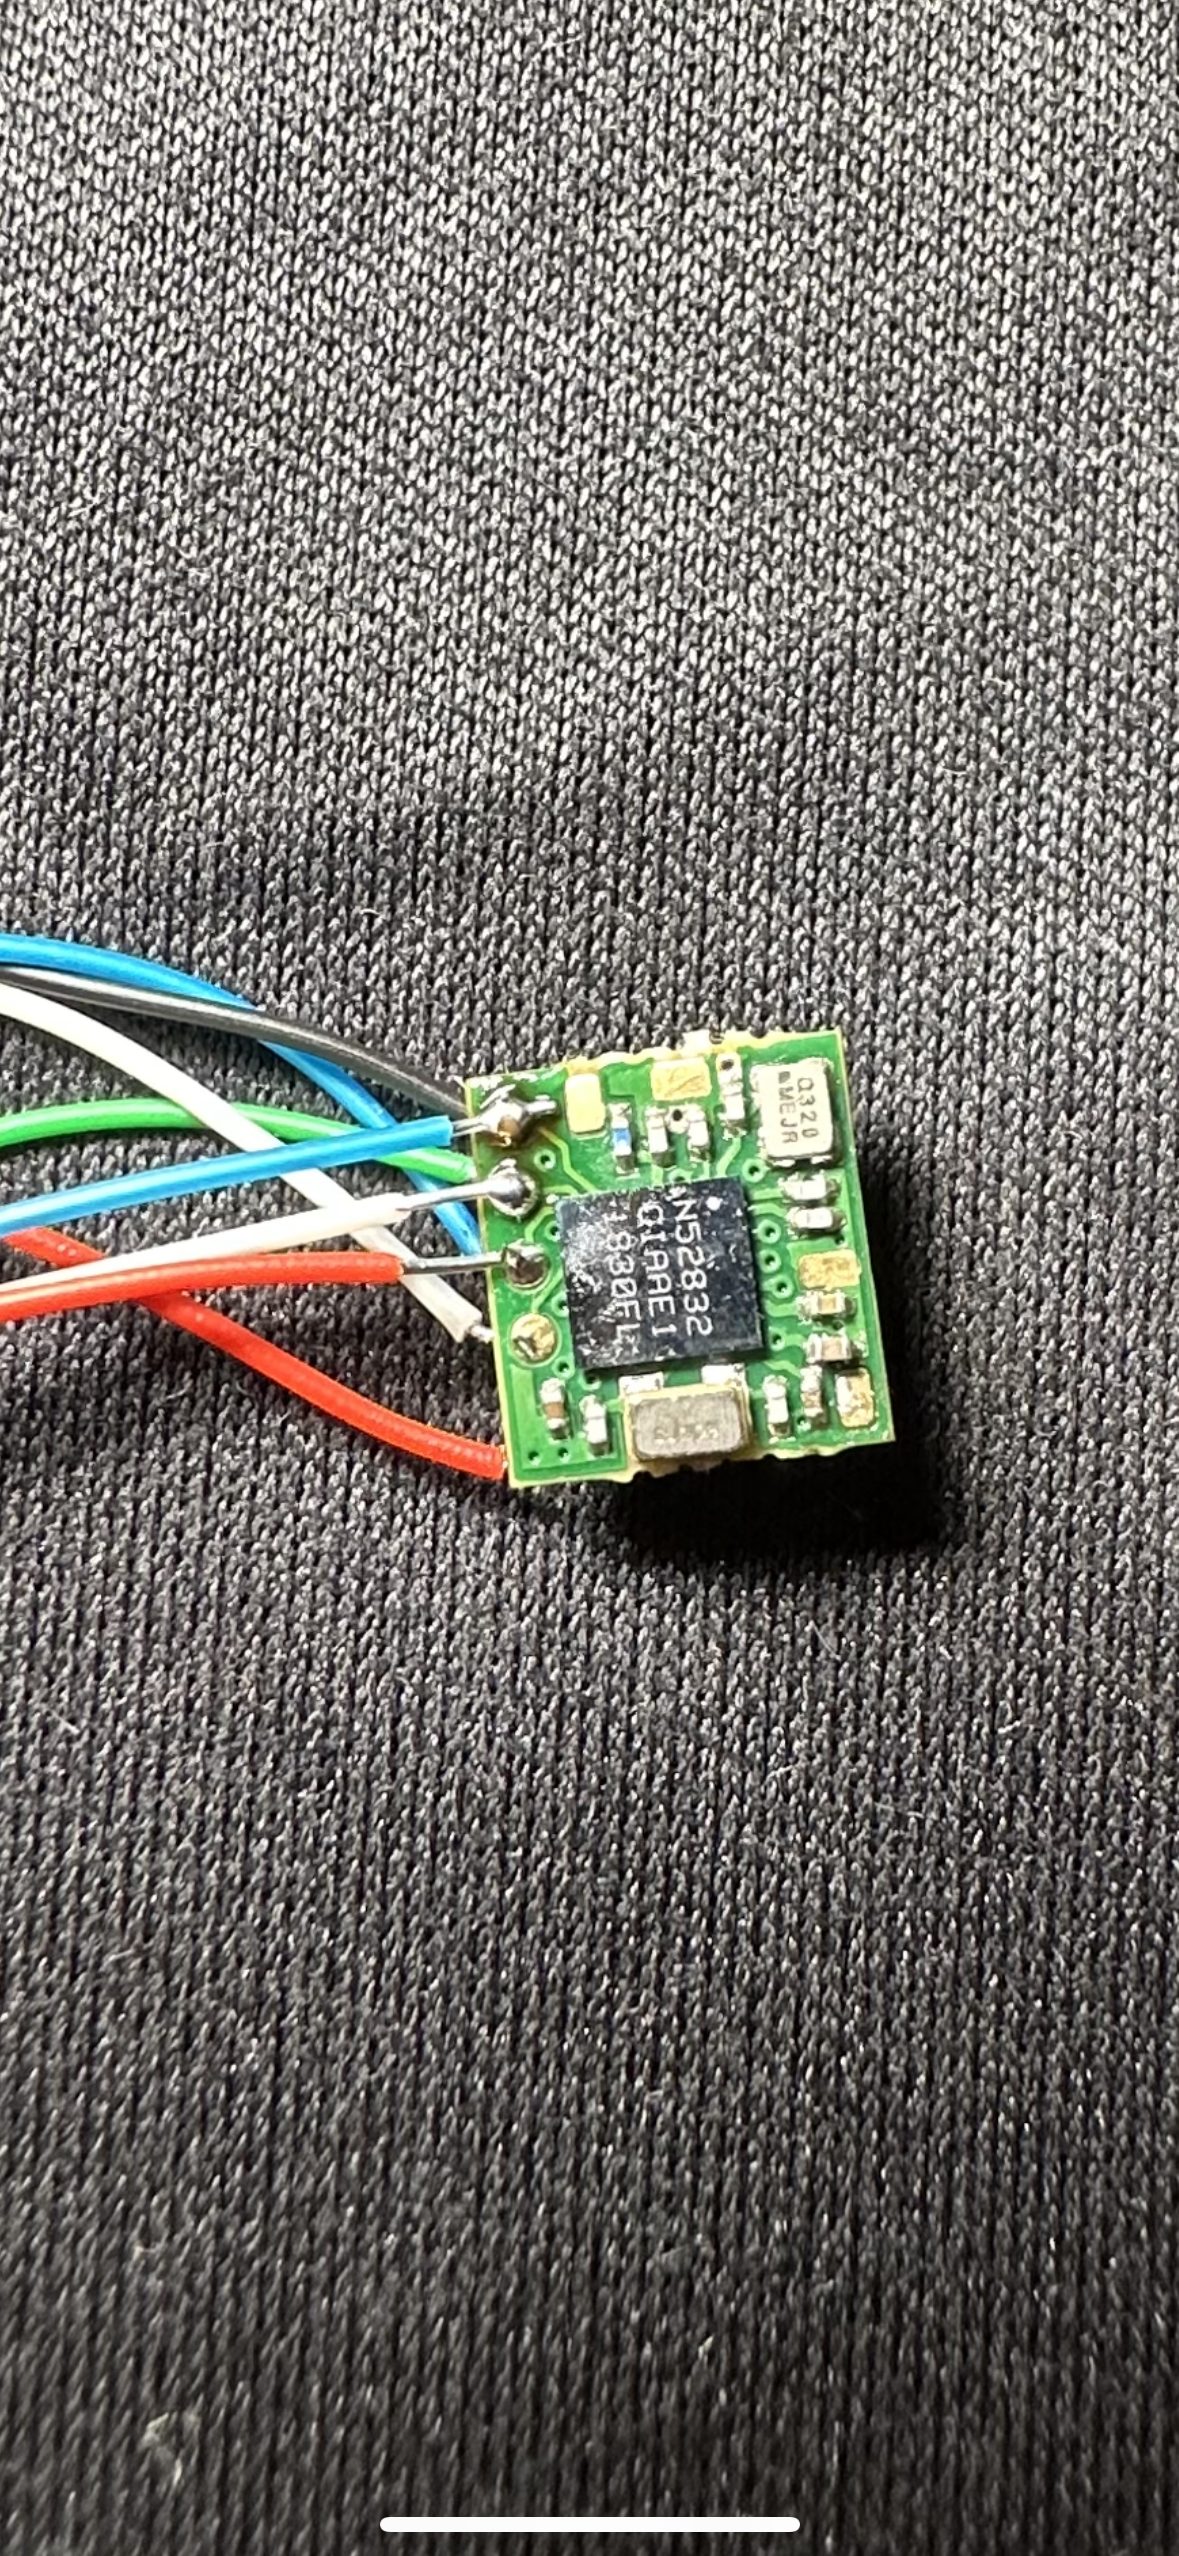
The chip in the above picture is about 6x6mm and the shiny silver piece, measuring 3x3mm, is the Nordic MC that fit the design requirements. The wire gauge used for testing here is >30, hence very very thin.
V4, Segger NRF52 Chip, BLE capable:
Depicted below are the setups we used in order to get the Segger development kit to flash firmware onto the board. We used pogo pins and a custom 3d printed spec to properly flash the chips.
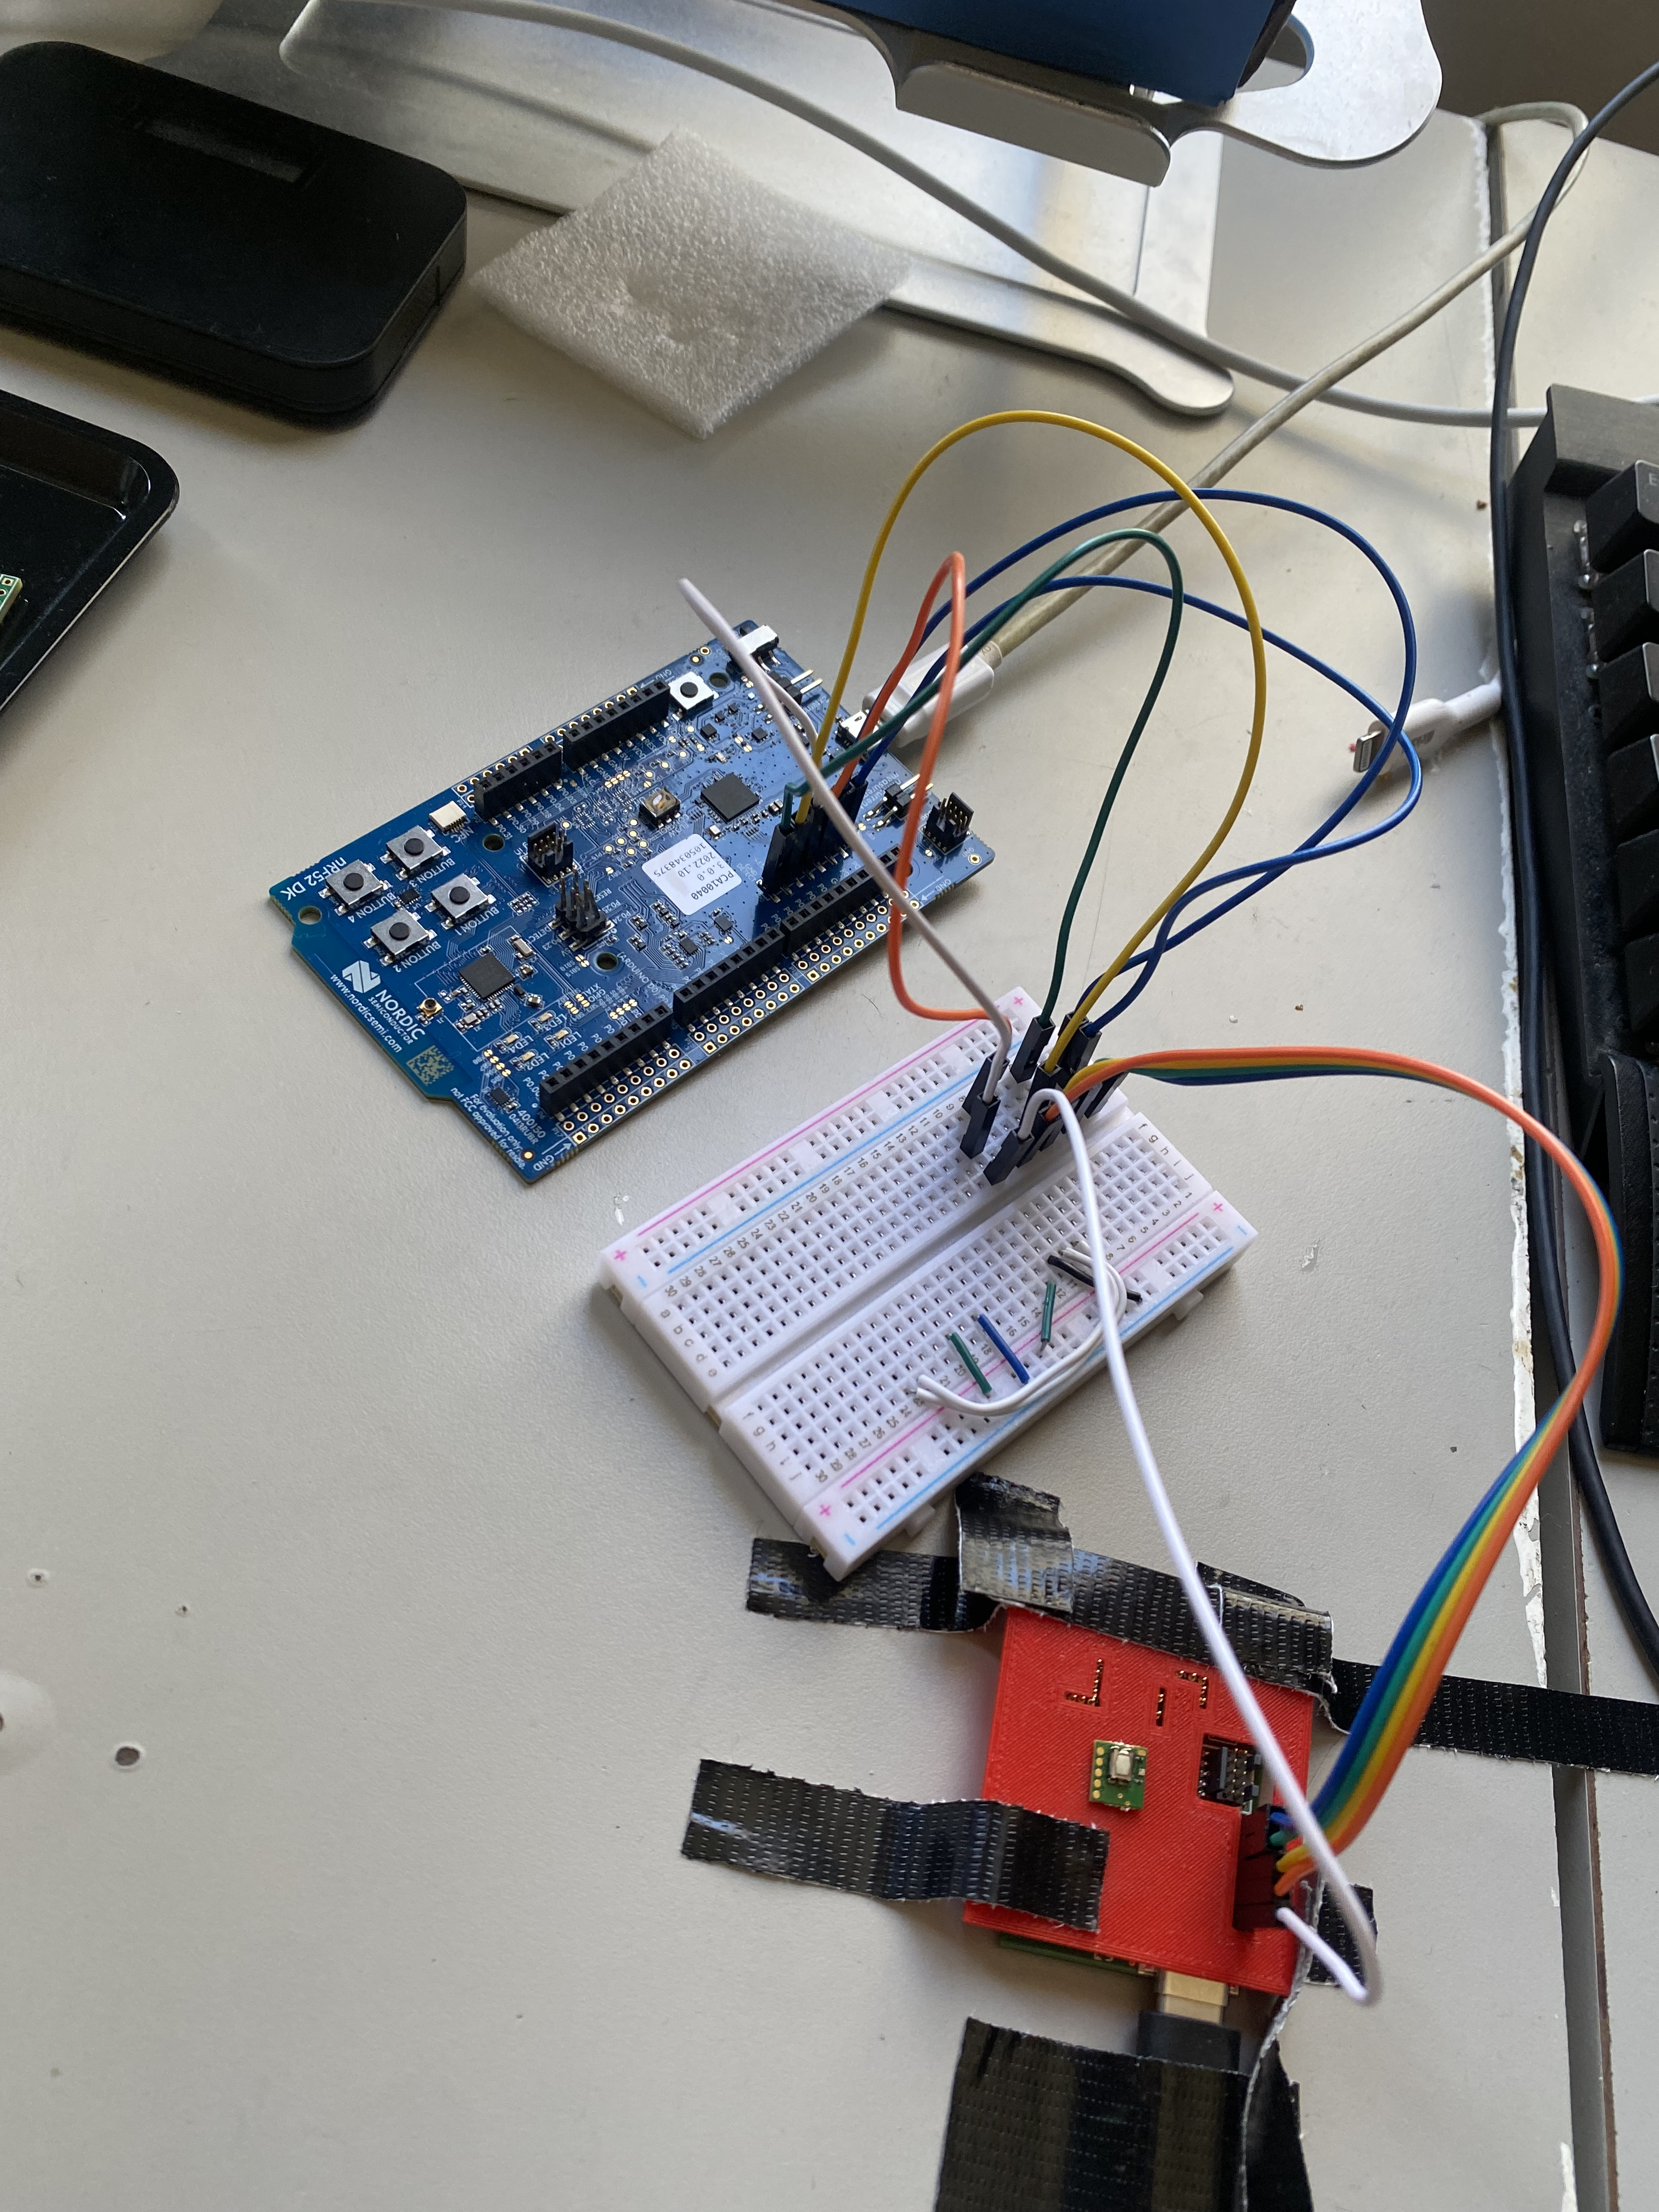
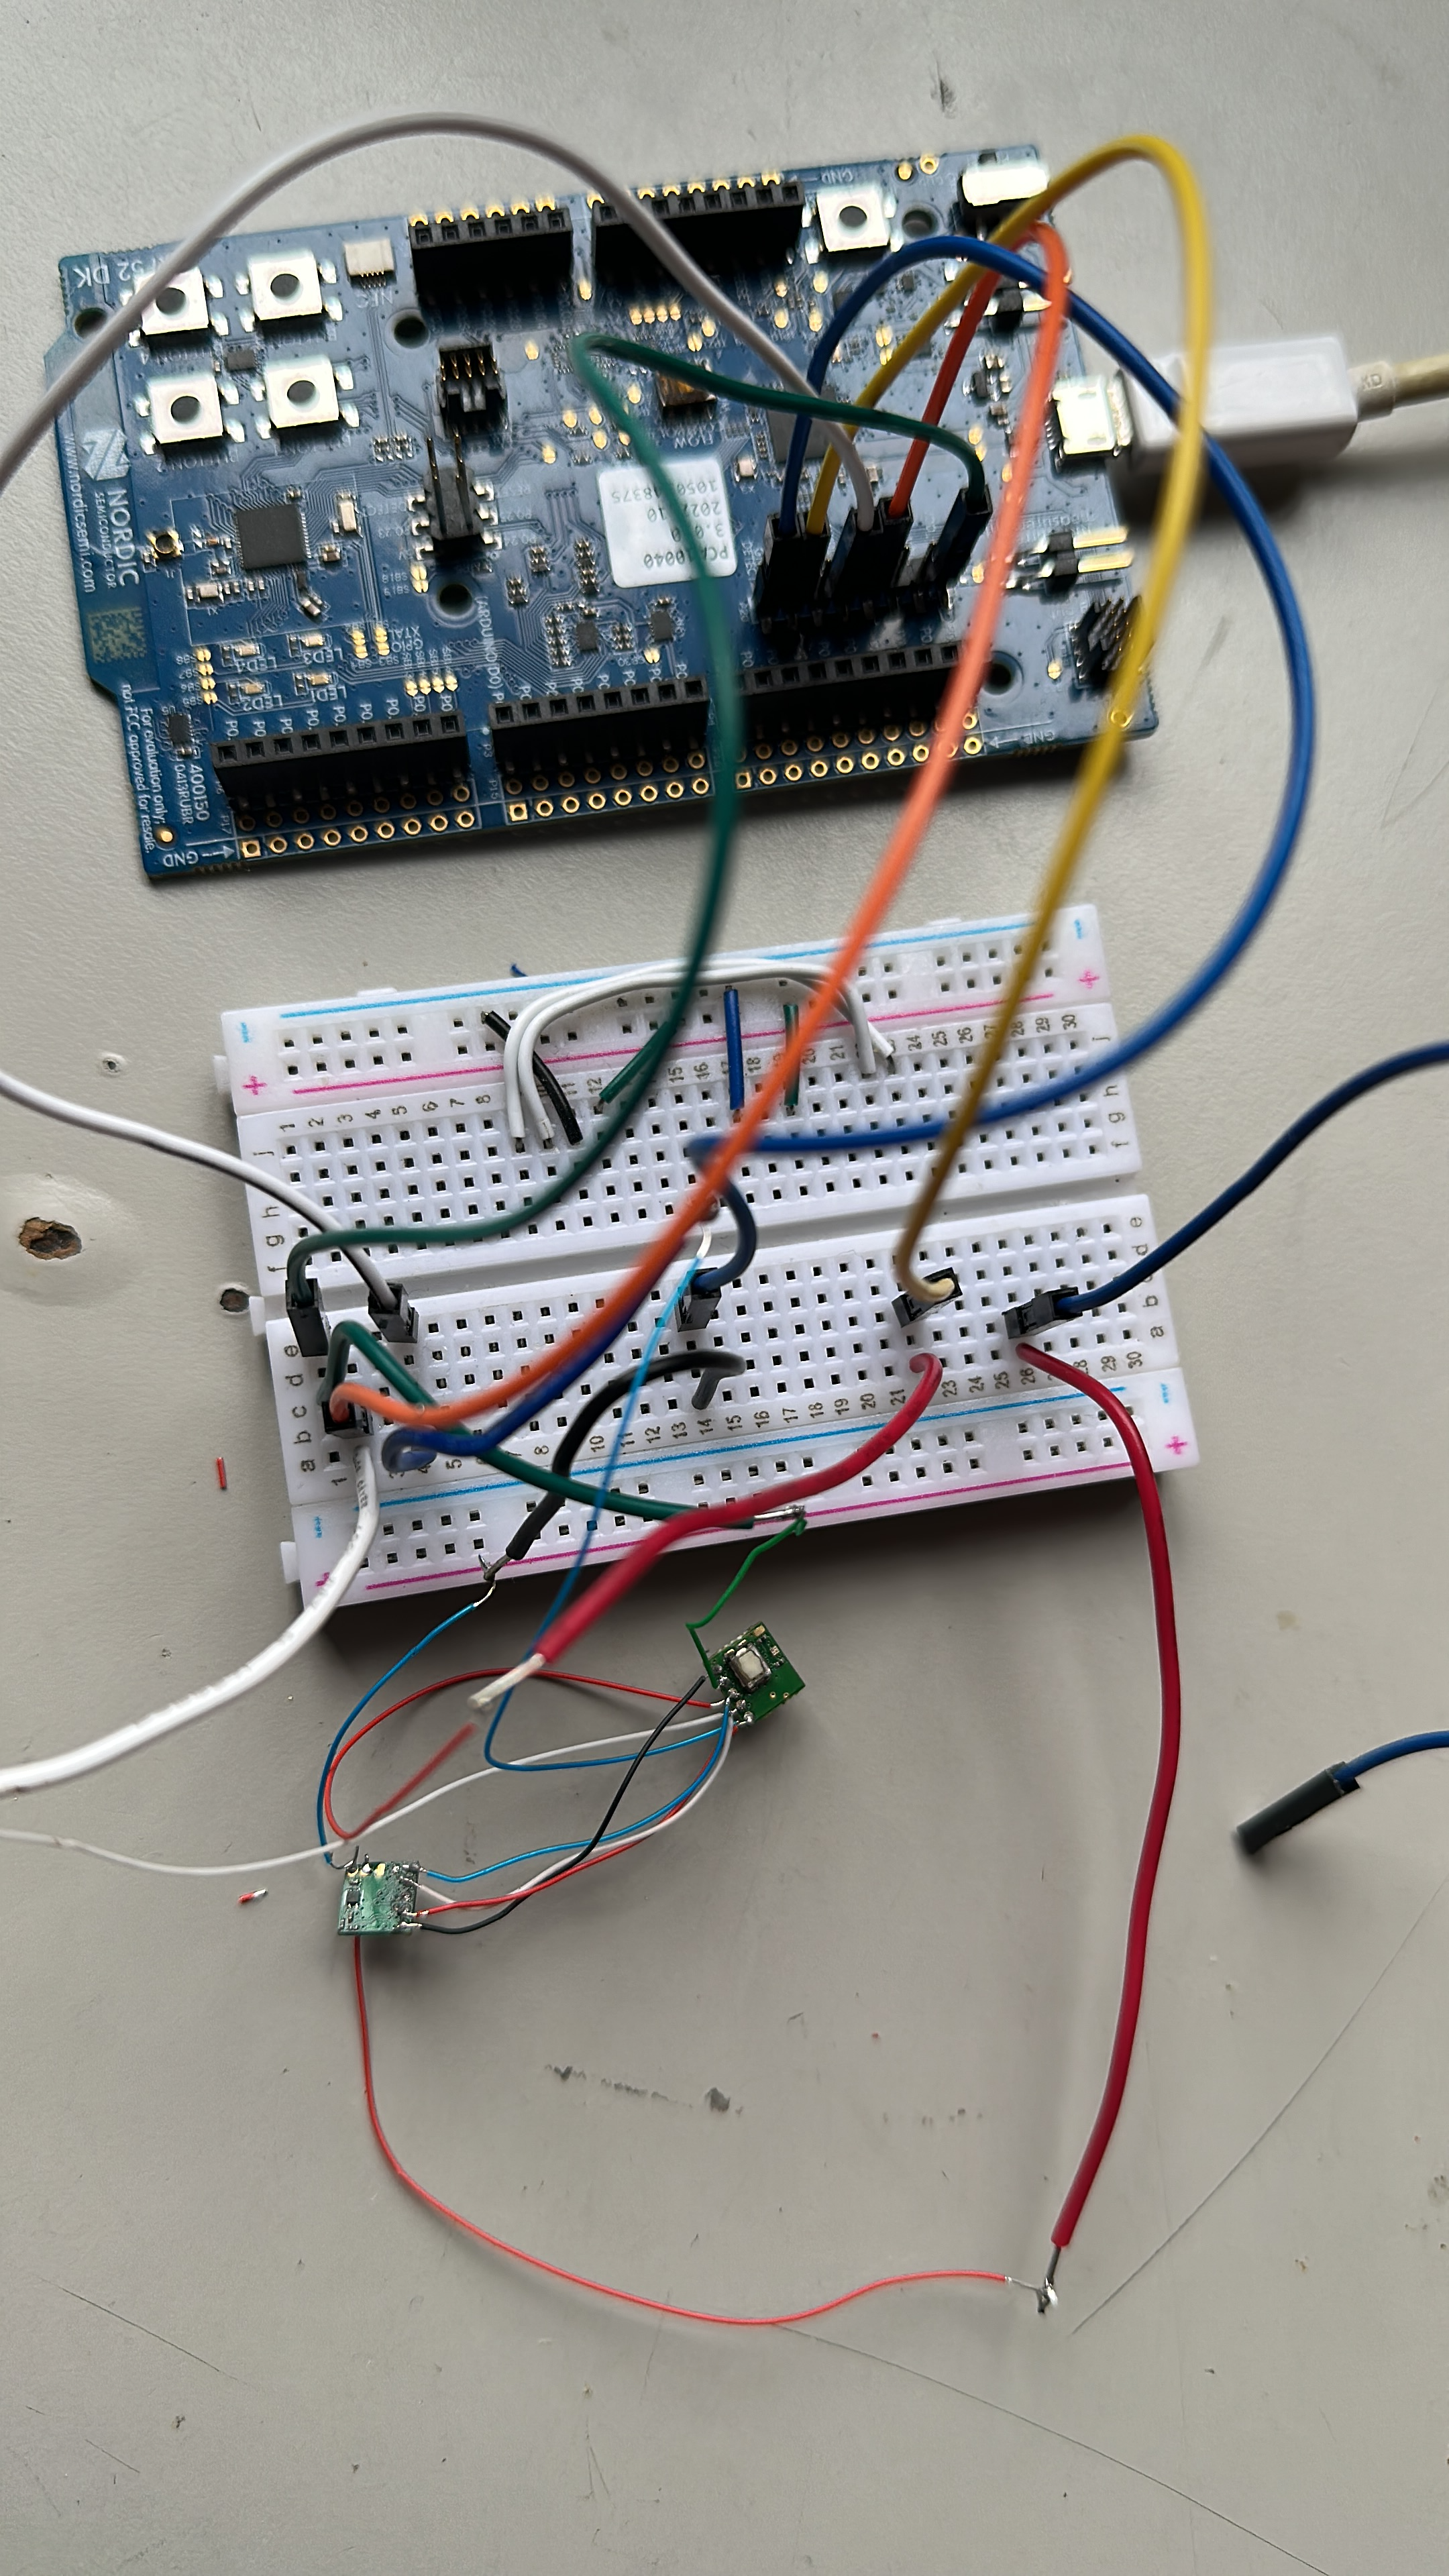
Finally, this is one of the final designs that I worked on, which was our MVP for the product.
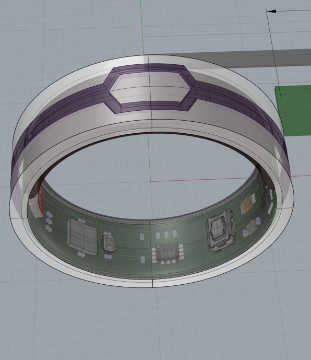
The green inner component here is the internal PCB, this is coated in a medical-grade epoxy to ensure that it was waterproof.
Thanks for reading thus far, if you have other questions feel free to message me on Linkedin or over email found in the contact section.